
Click here to see another image.
as you can see above a list of names for classes. We have a class try.java and we also have action.class which represents our action listener that we will use as a tool to create buttons and responsive components.
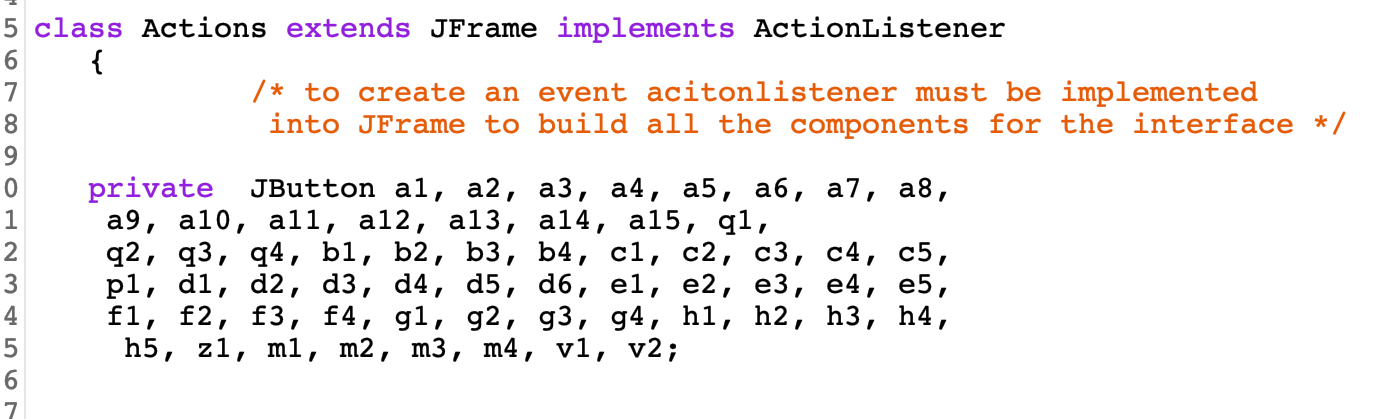
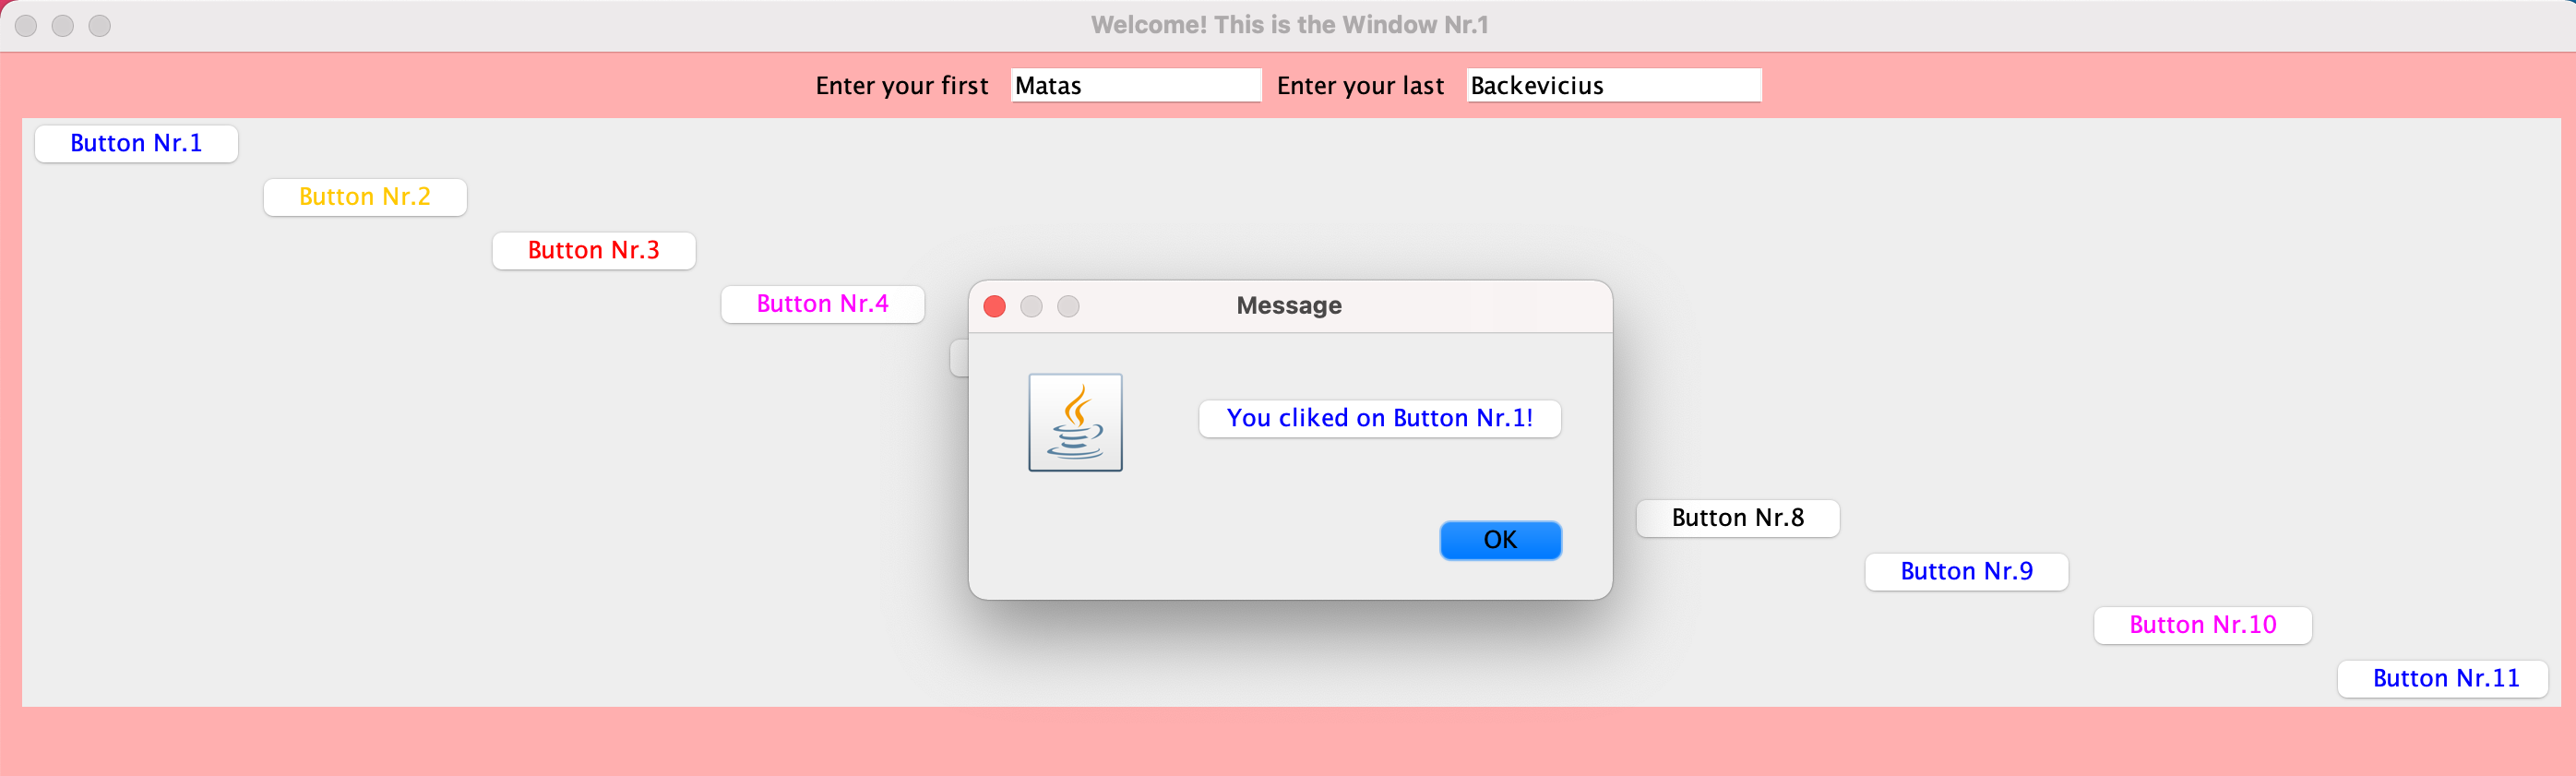
The purpose of this project was to develop a push-button Java application so that it displays a Displaymessage box with some type of a question, or an explanation about some topic or an event.
Click here to see another image.
as you can see above a list of names for classes. We have a class try.java and we also have action.class which represents our action listener that we will use as a tool to create buttons and responsive components.
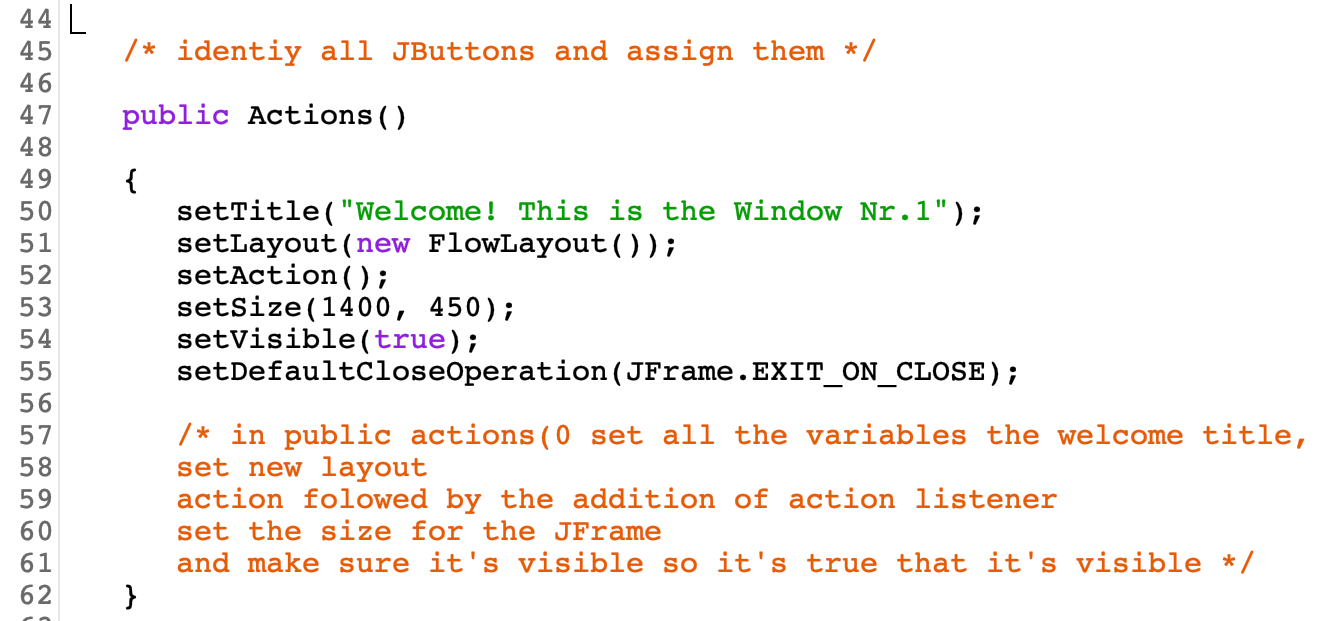
we also want to set up a size for the layout as 1400 and 450.,/p>
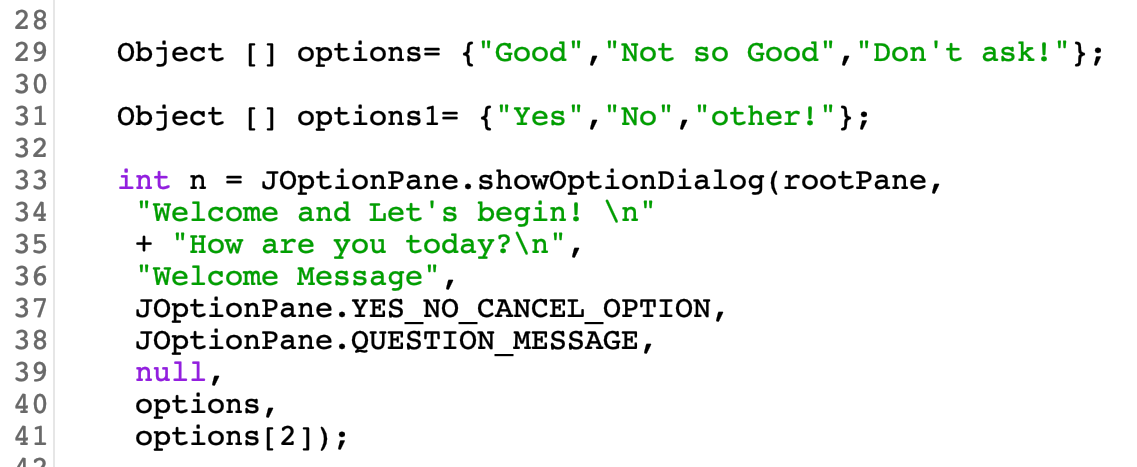
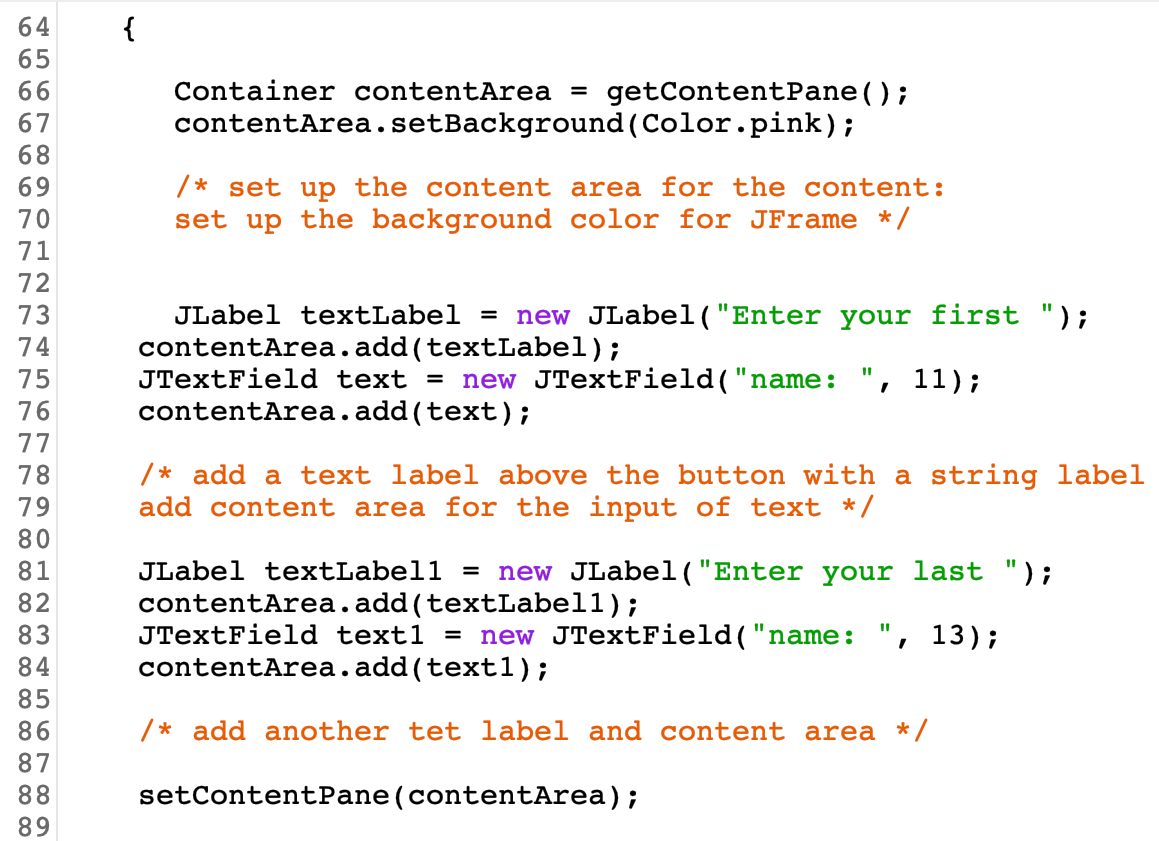
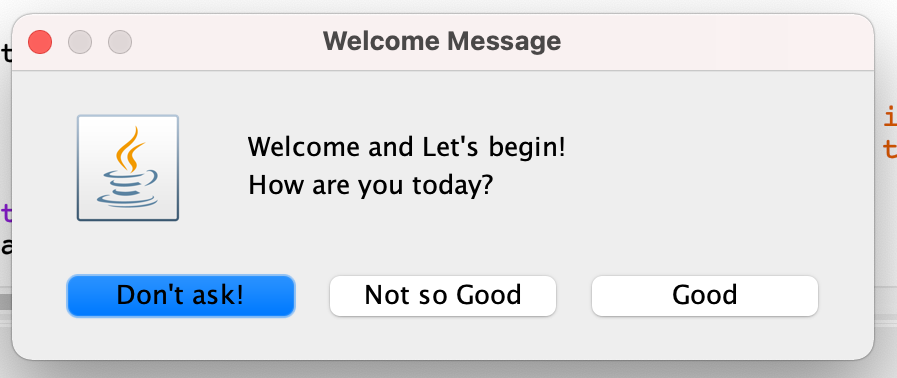
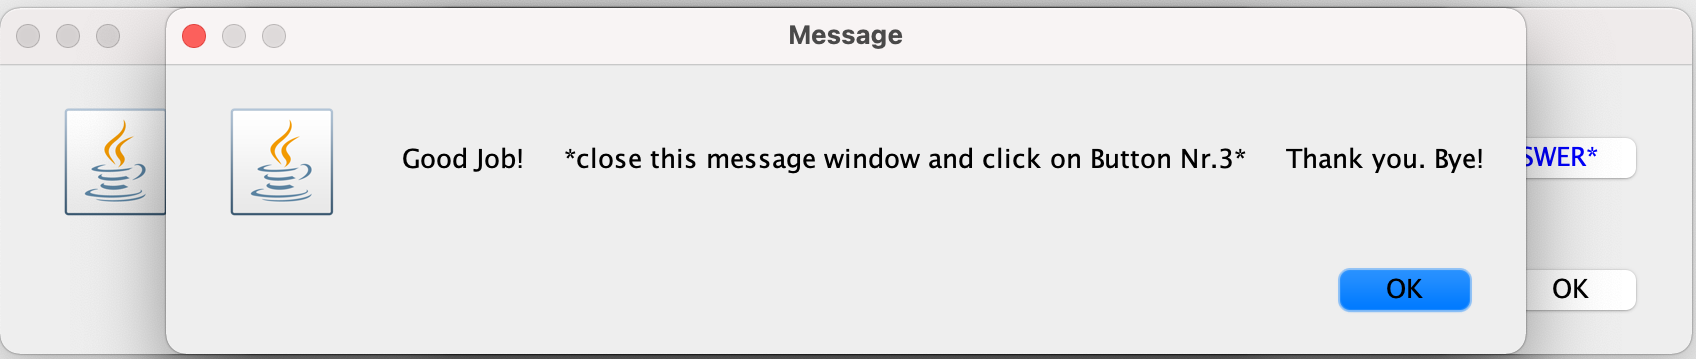
was you can see each object represented with a statement as a response such as 'good' or 'not so good./p>
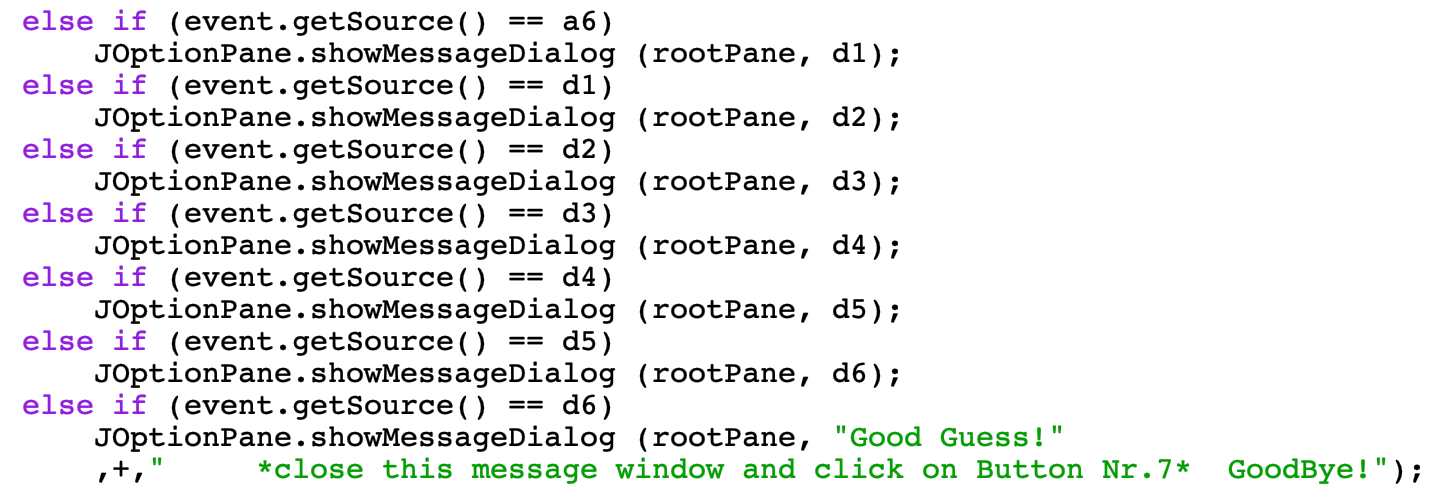
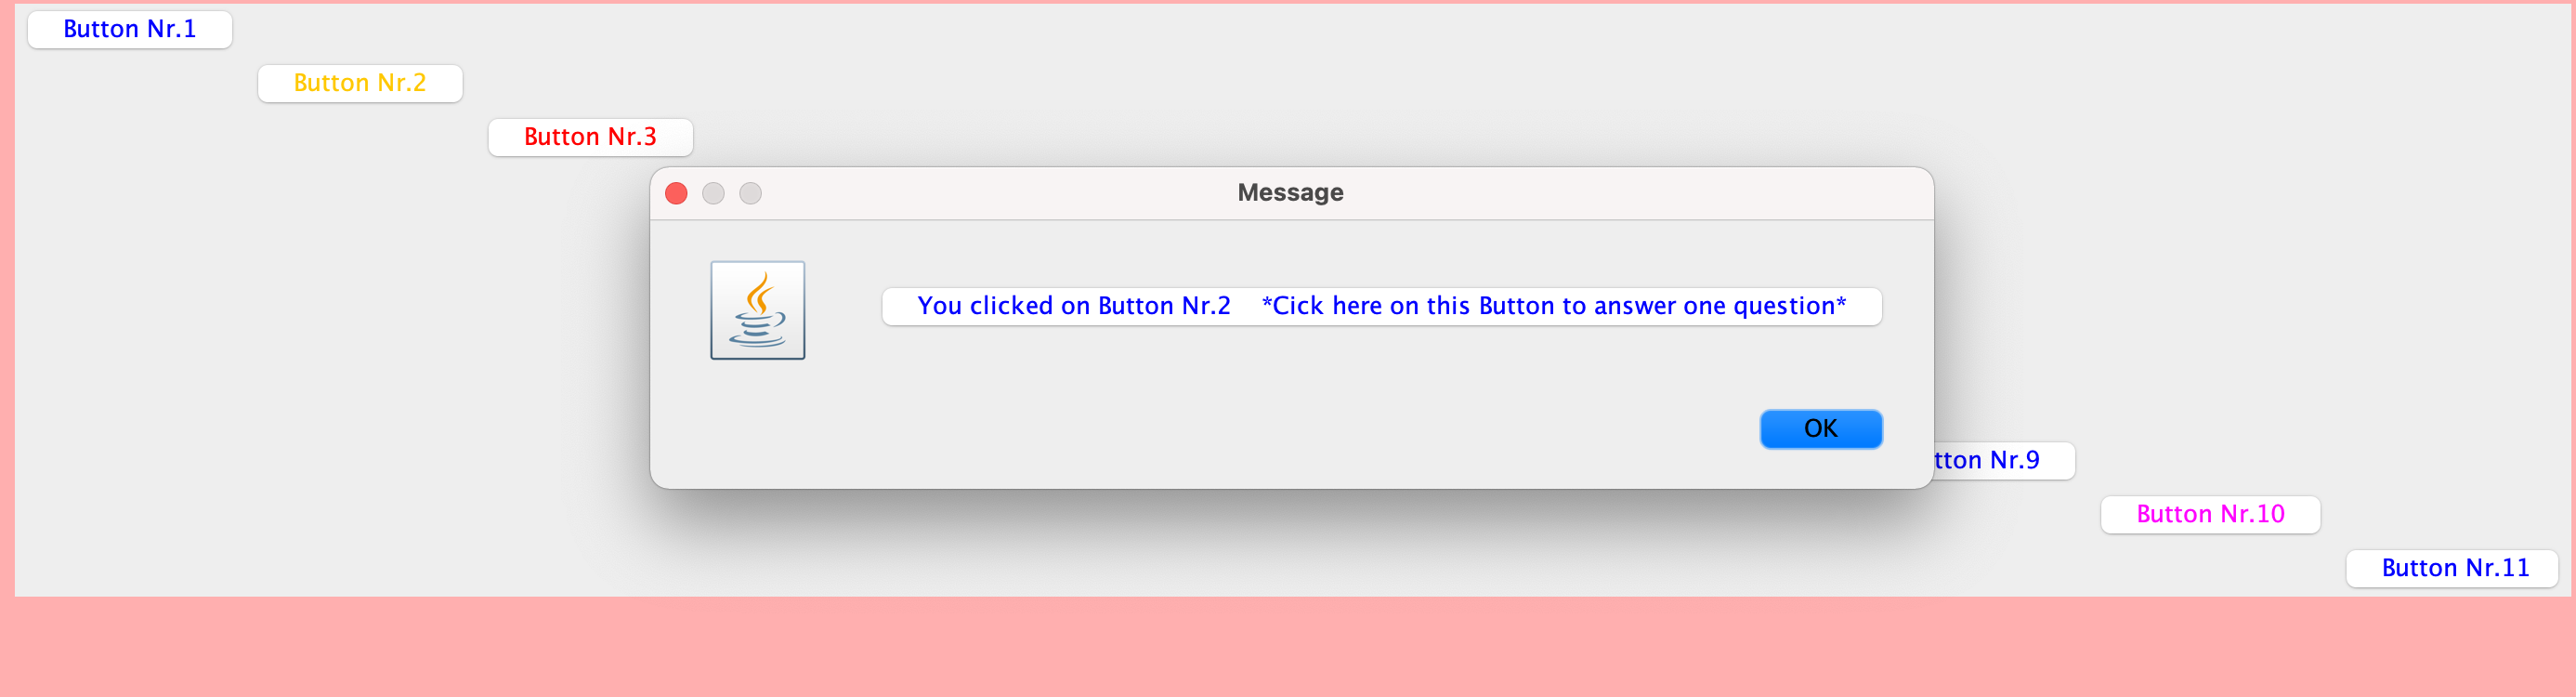
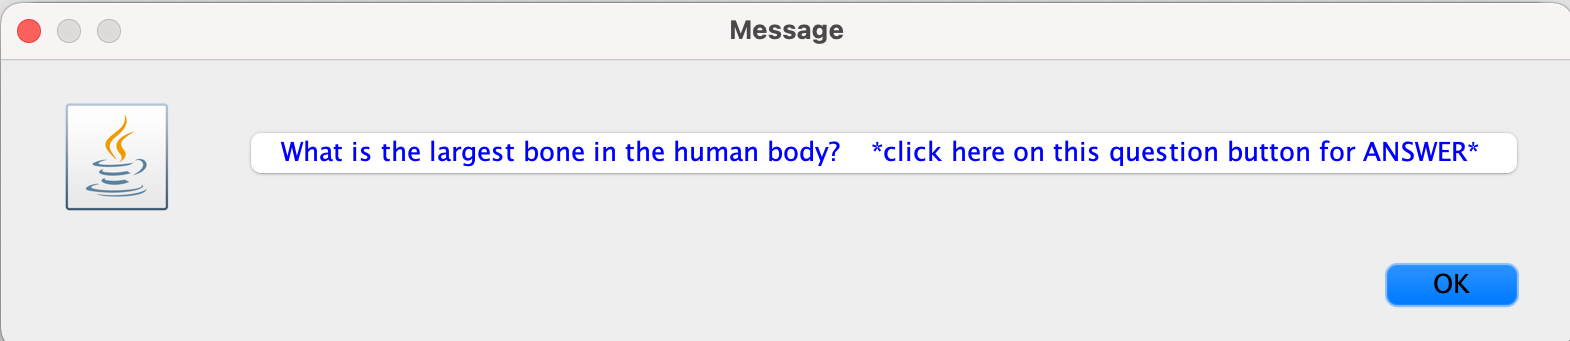
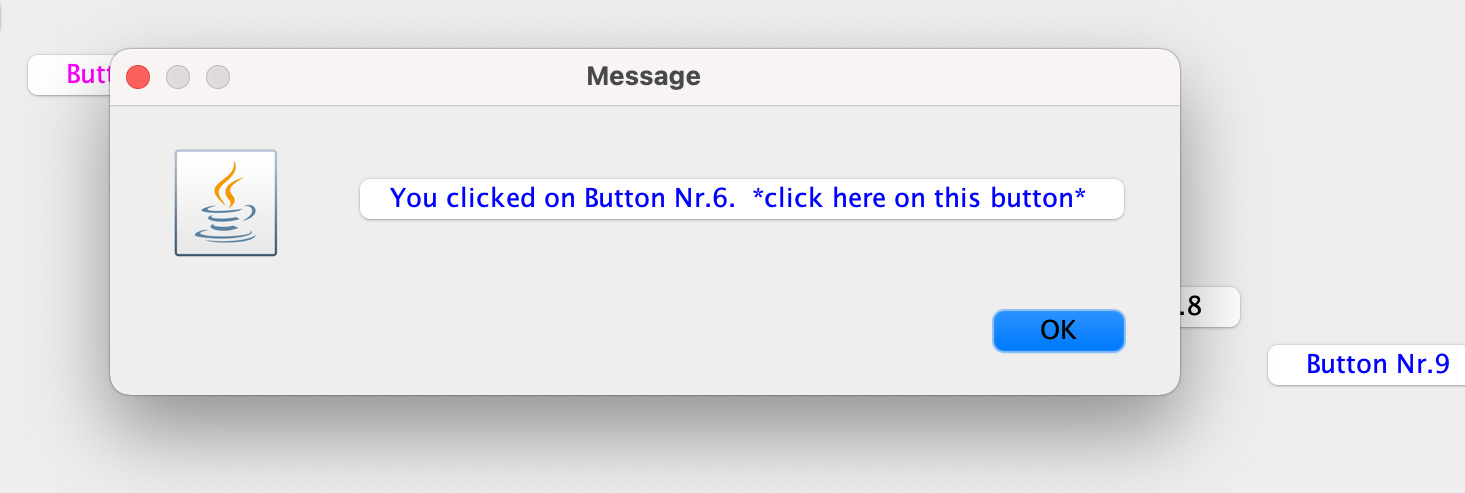
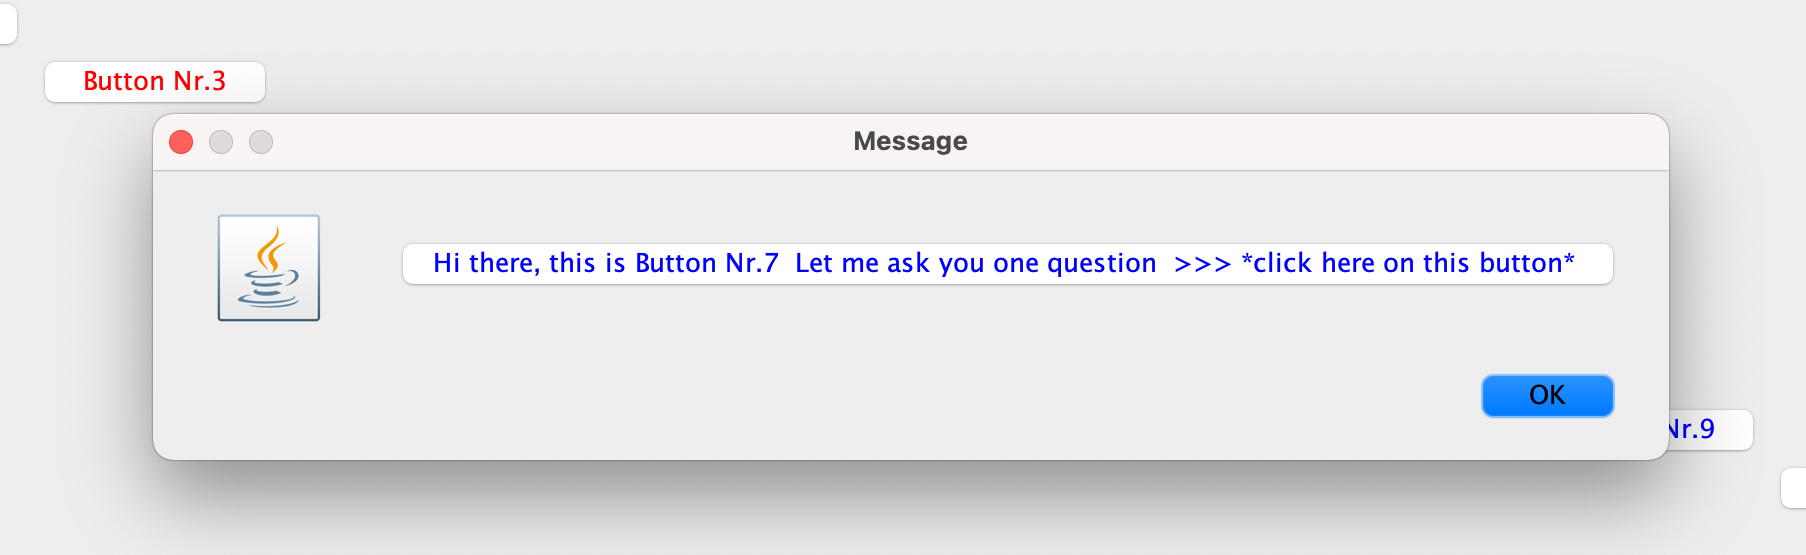
As you see every statement is somewhat different and is assigned to that new button, so when you click on that button it print not only the name of the button but its statement./p>

As you see every statement is somewhat different and is assigned to that new button, so when you click on that button it print not only the name of the button but its statement./p>
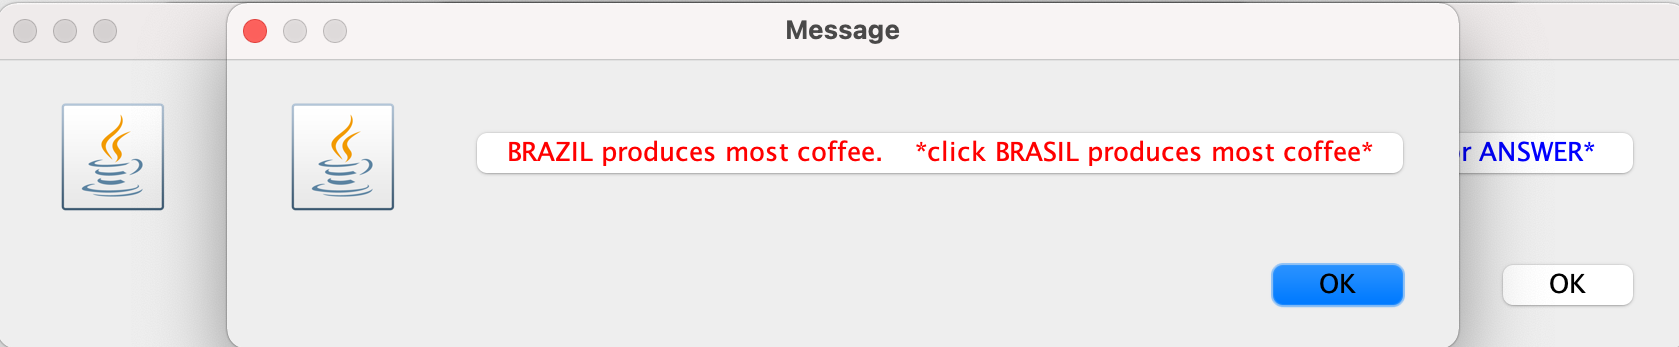
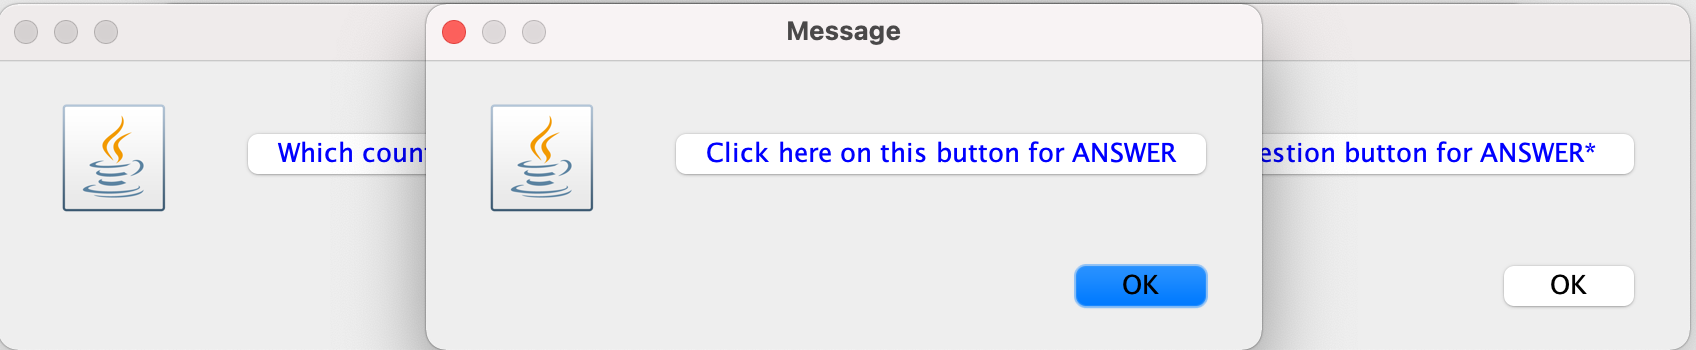
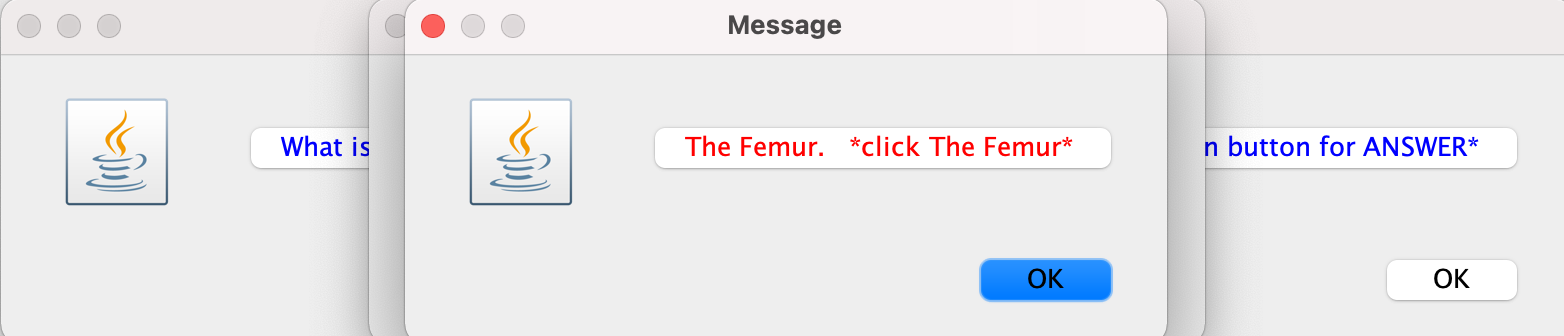
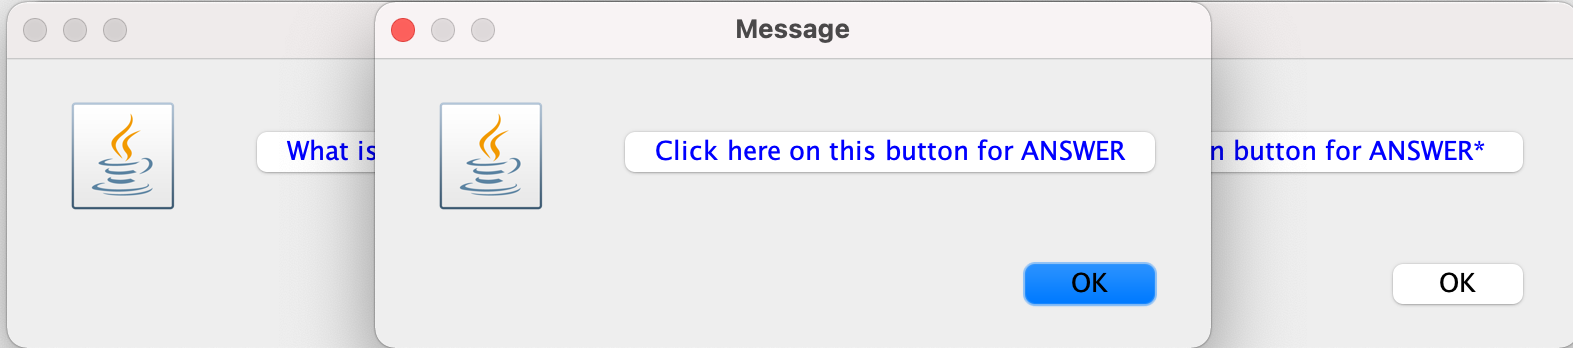
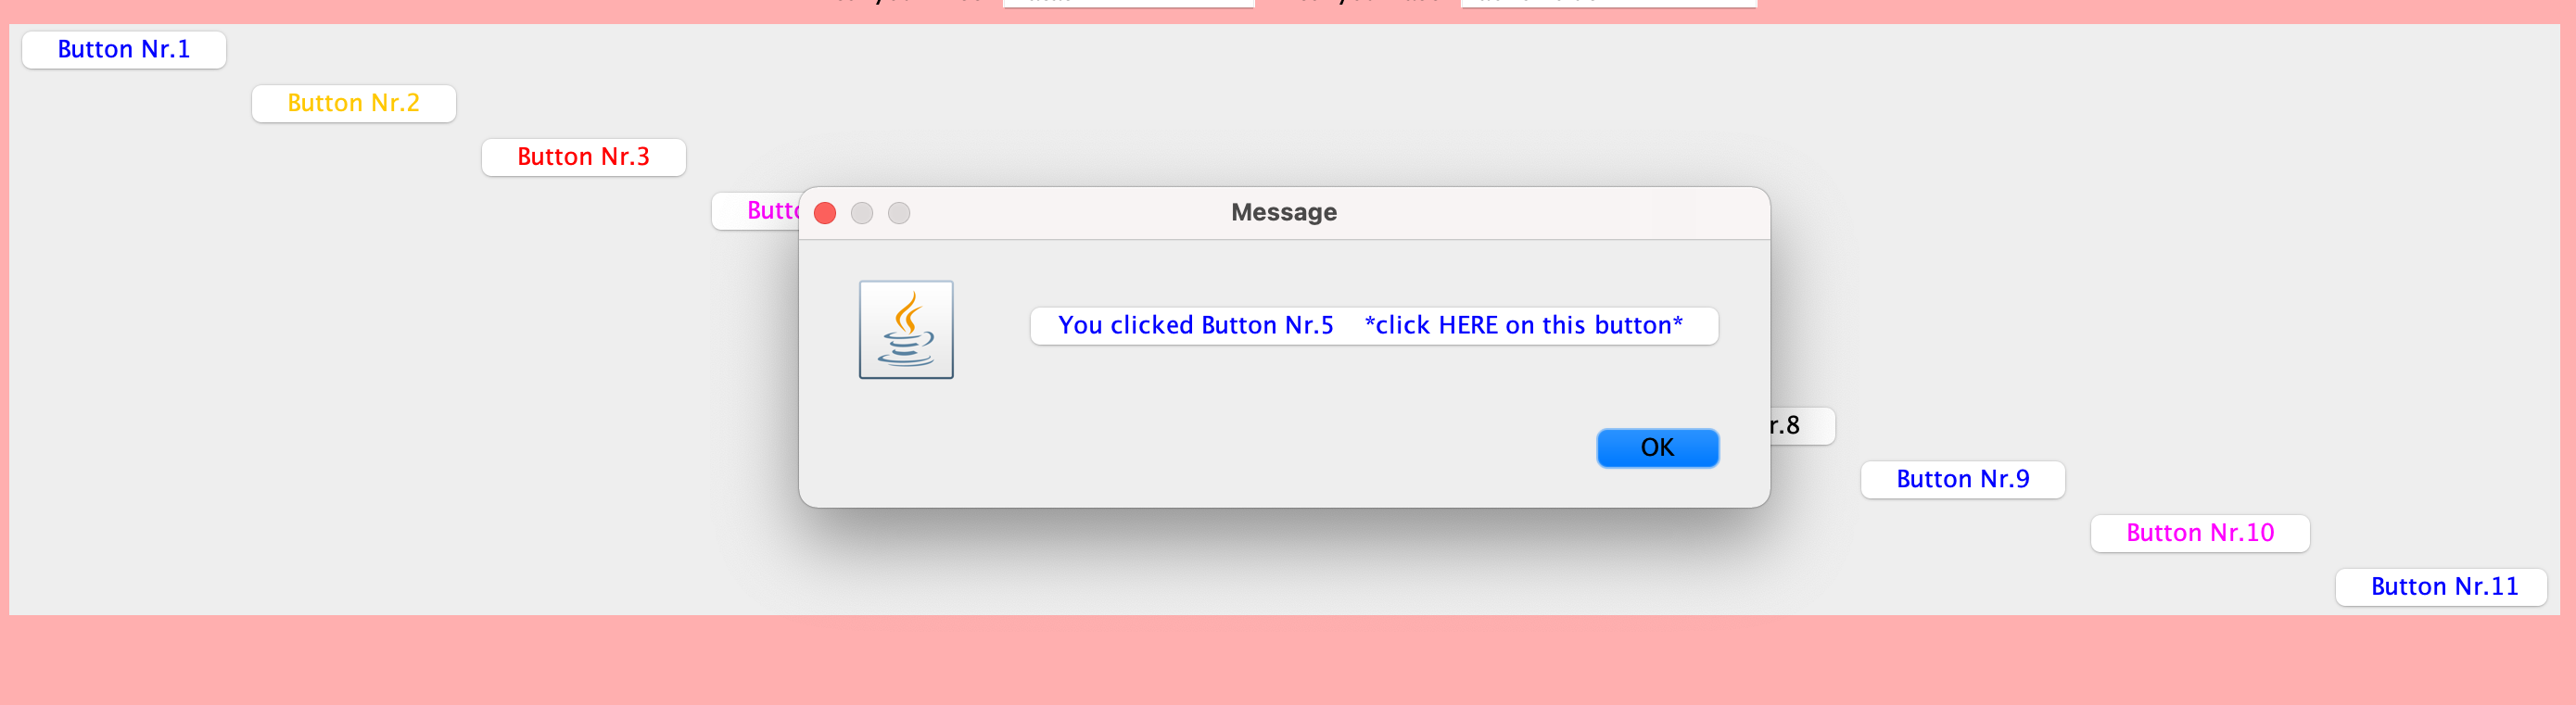
If you look closer you can see how every button is located within another button, meaning that when you click on one button it will open another button, and for every question there will be an explanation before an answer. So like 3 buttons in a sequential order. One after another.
Click here to see another two images.
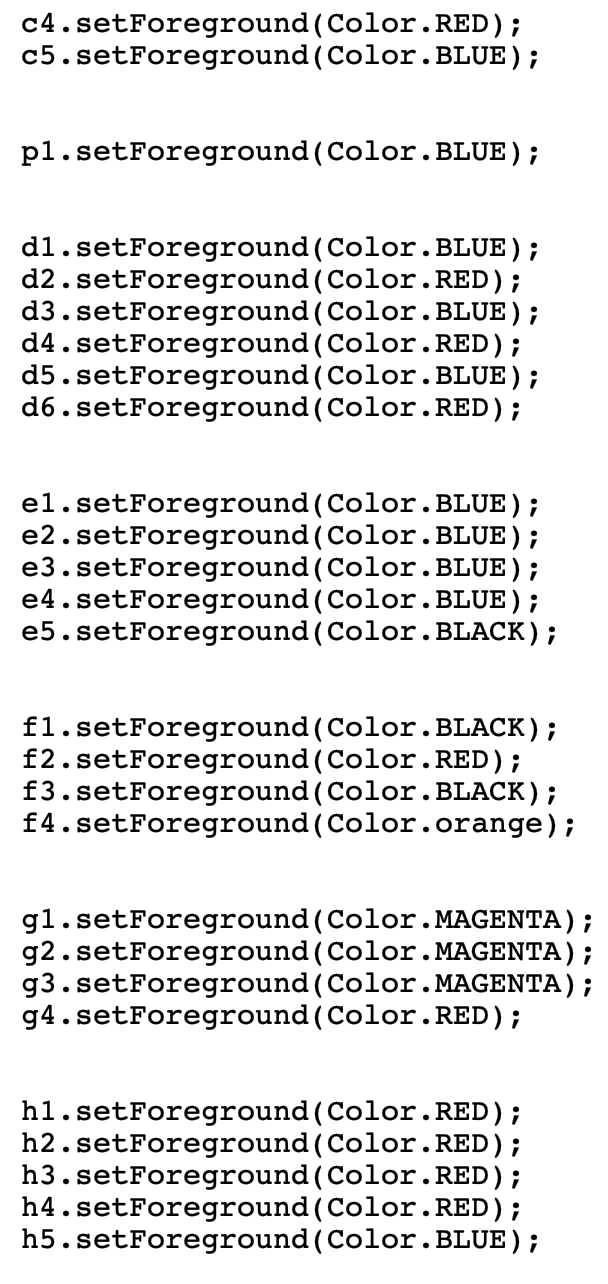
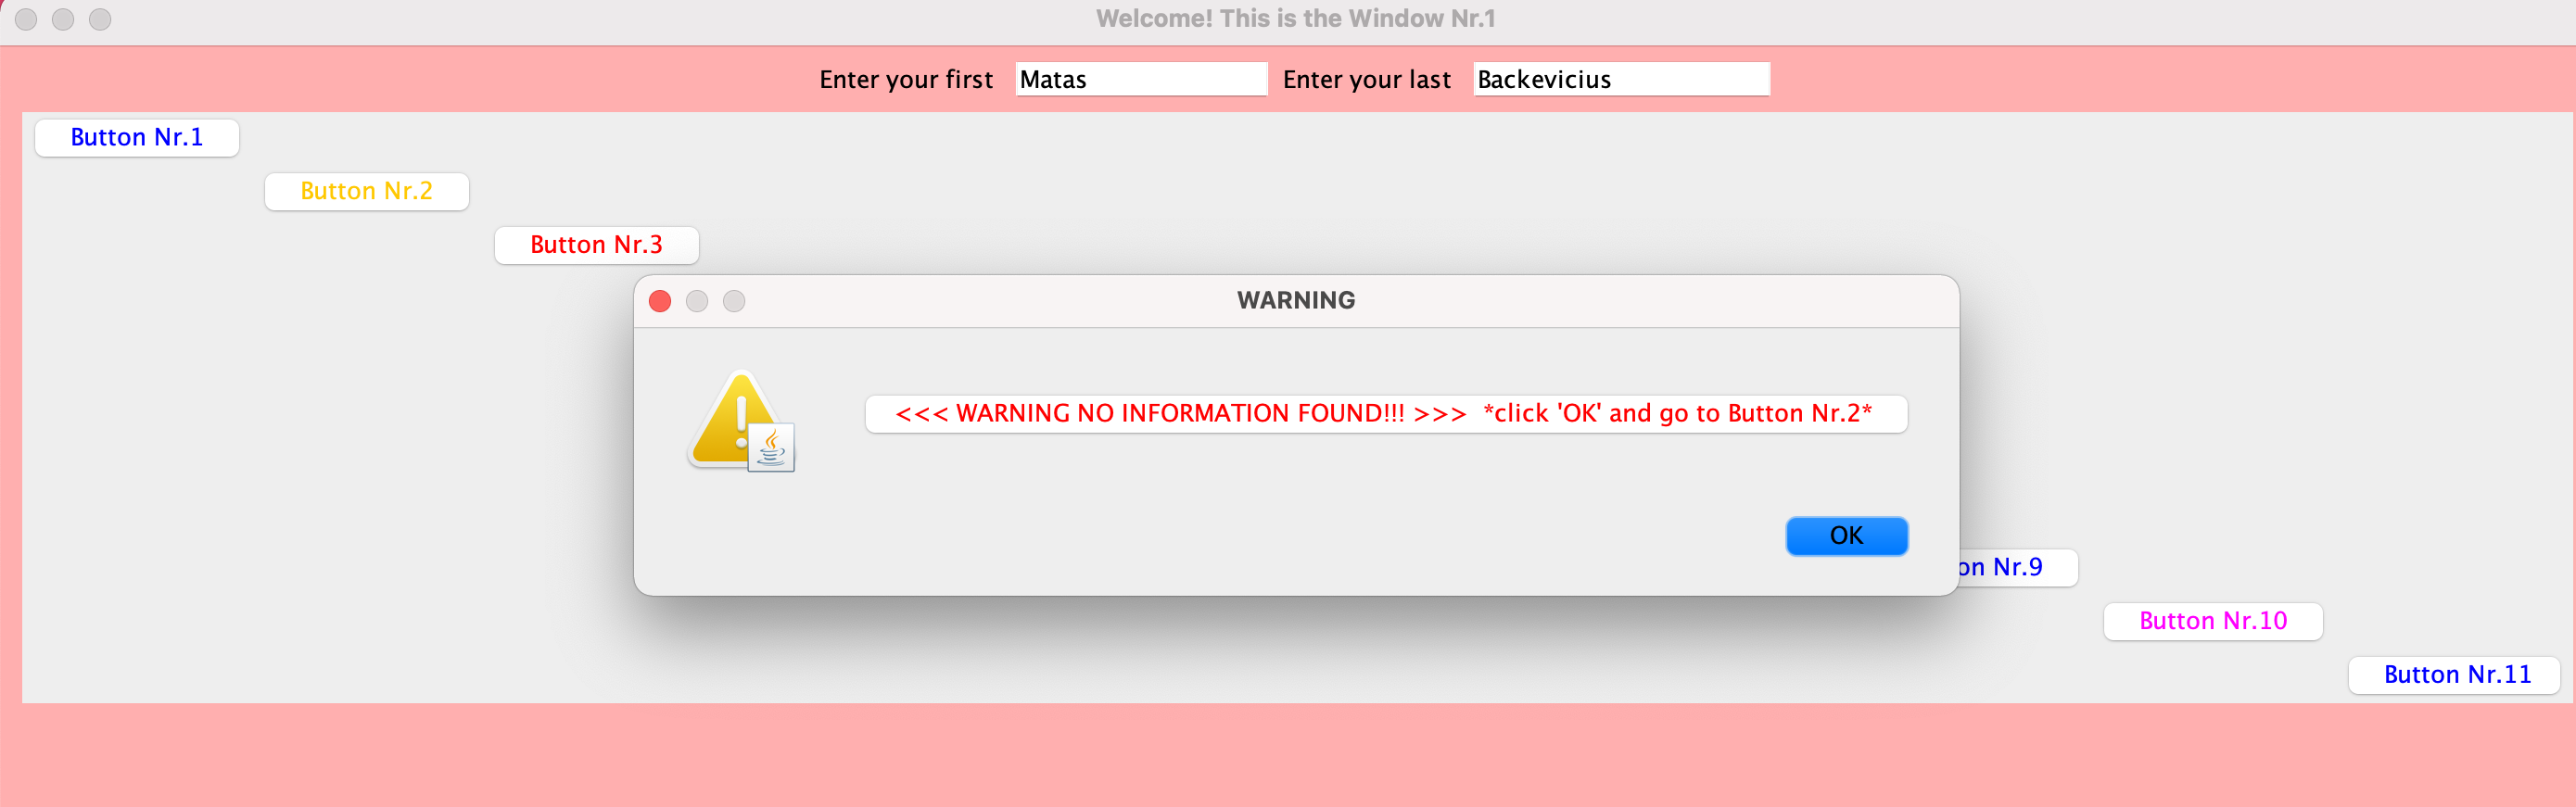
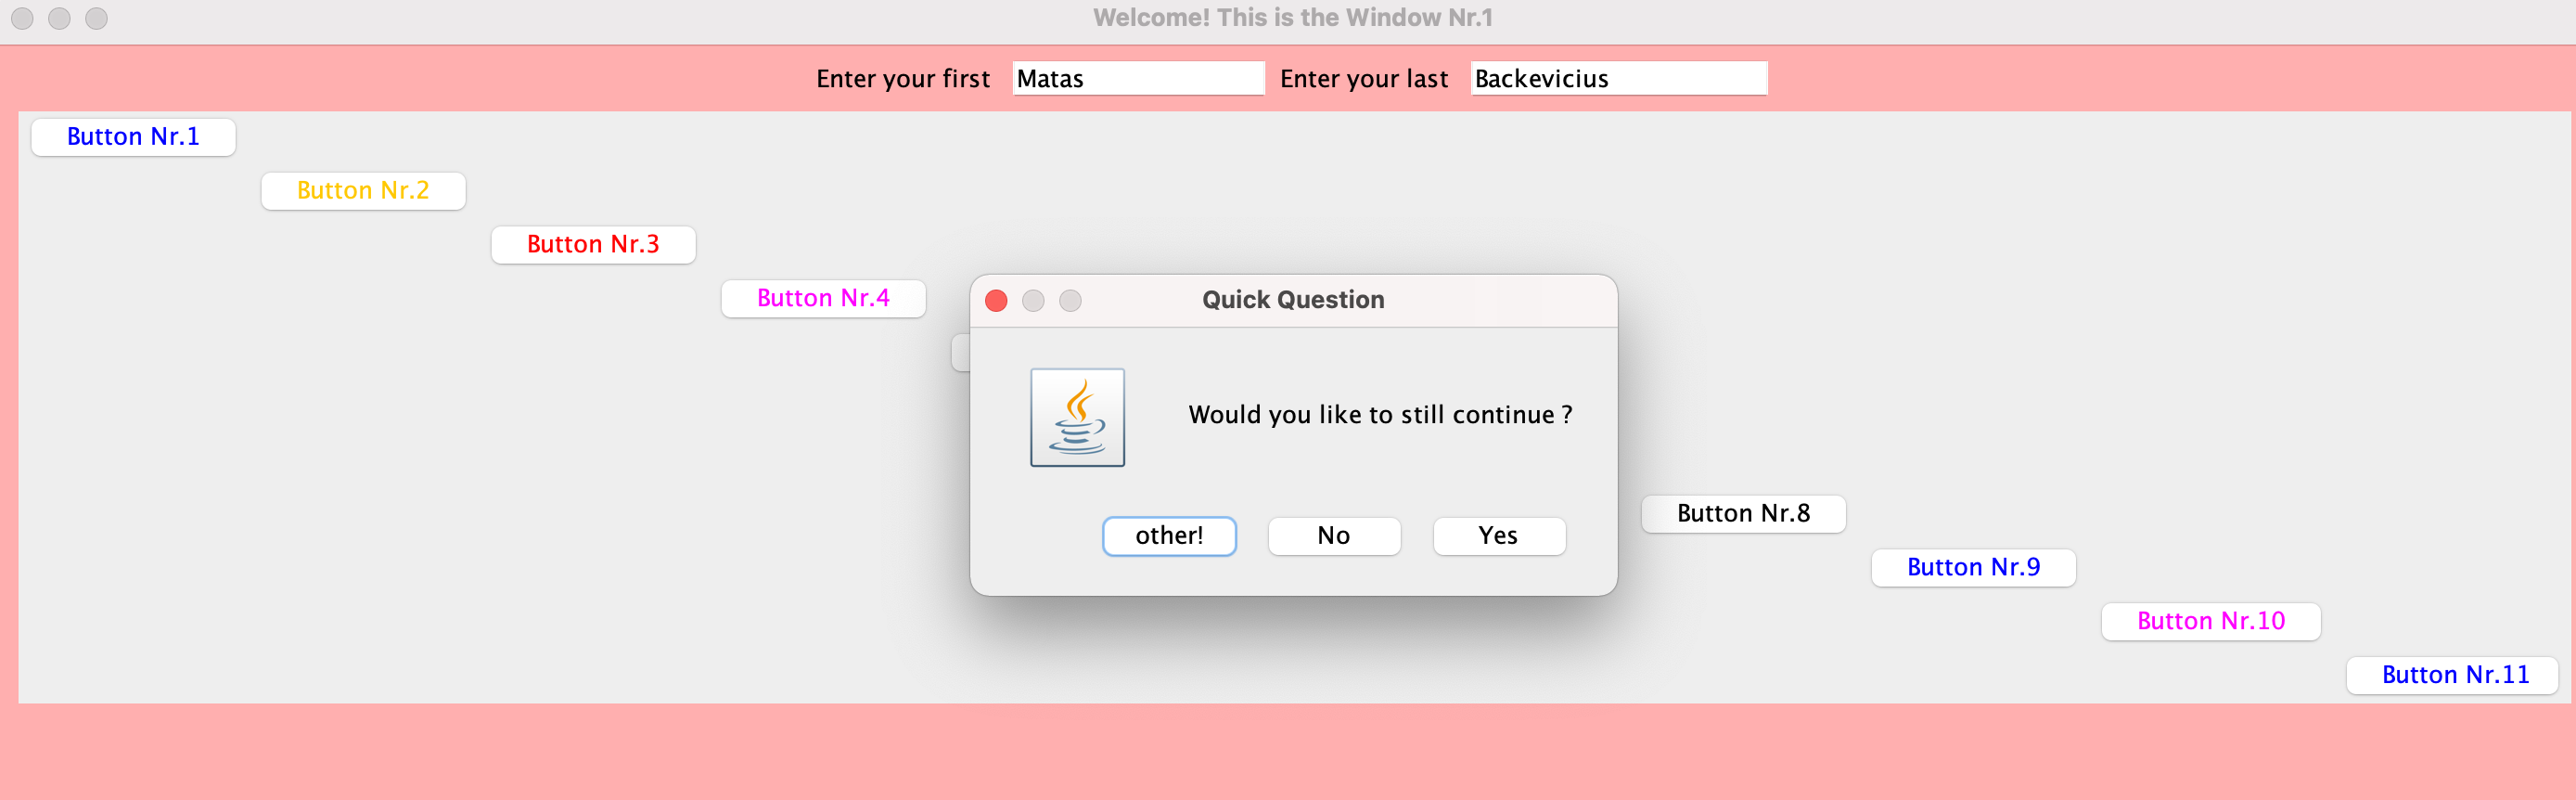
As you see the above image shows how we incorporated different colors to our buttons, so that it's not the same color every time we open a different button. Variety is very important. And certainly we want it to be visible./p>
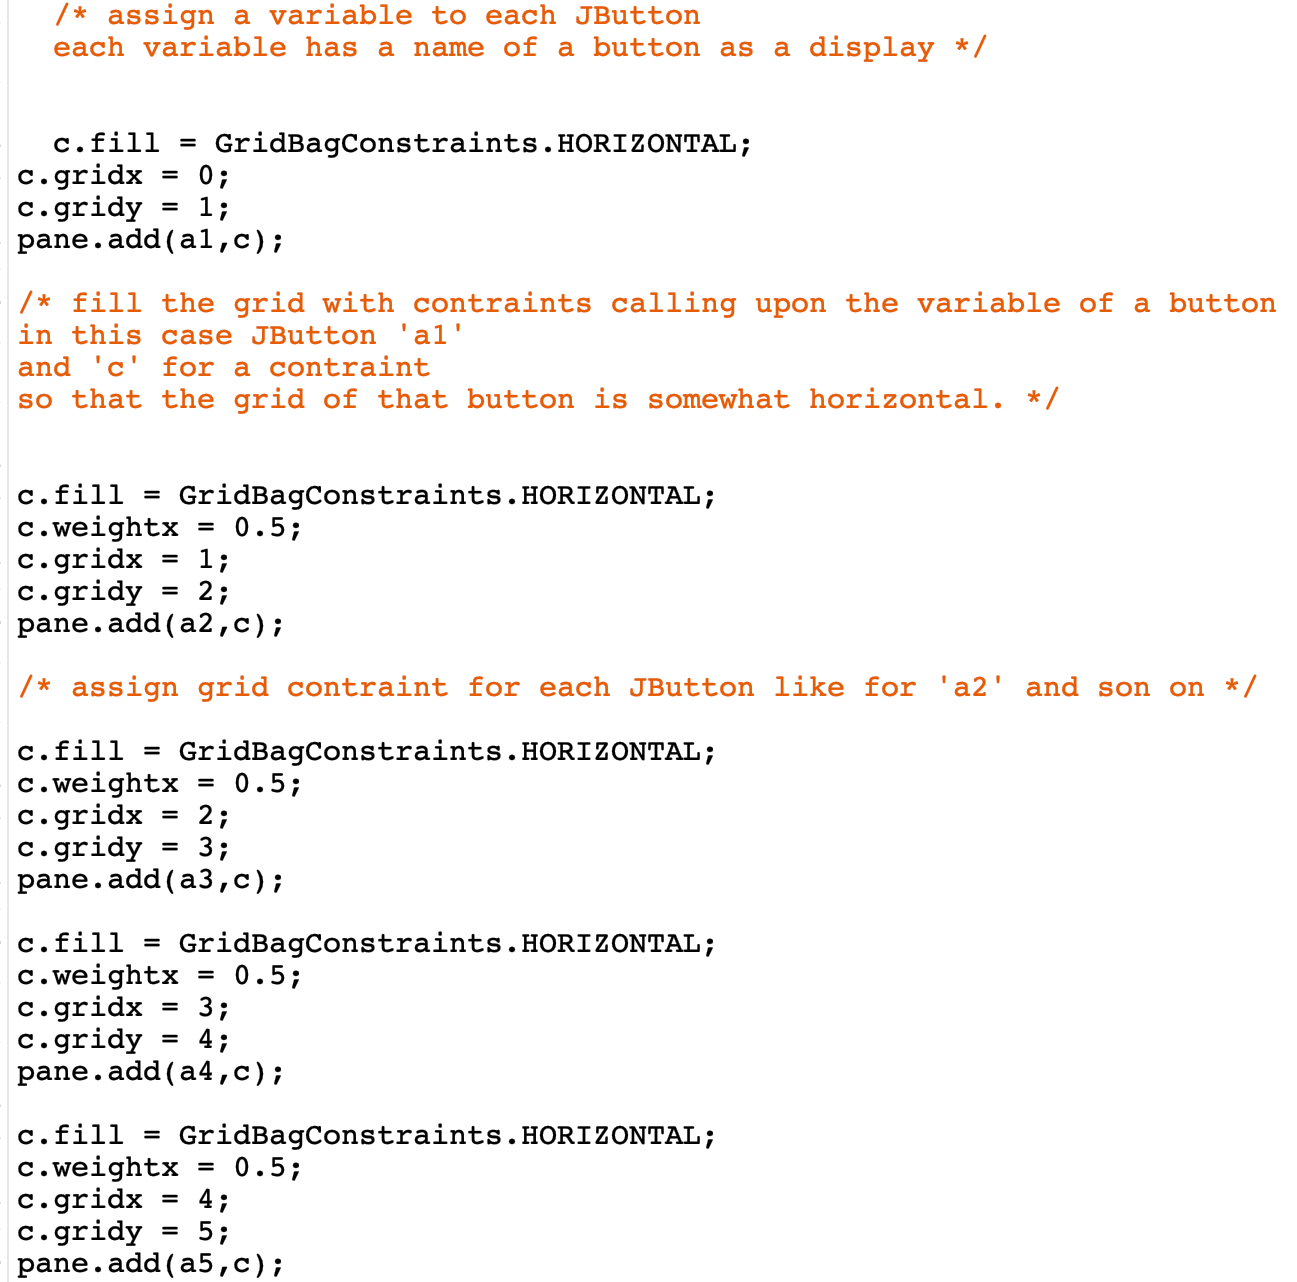
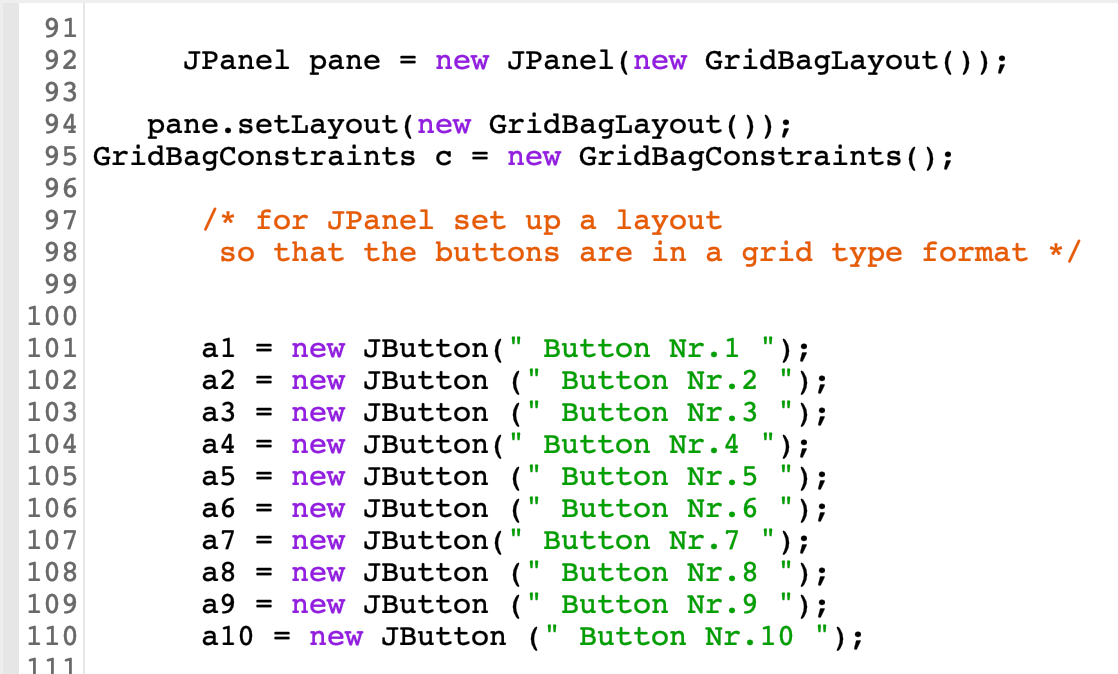
These constraints are positioning of our buttons on the grid layout. As was mentioned earlier, the structure is crucial, but knowing how to set up the right coordinates for our buttons is crucial. With this method we are able to organize our buttons in a consecutive order.../p>
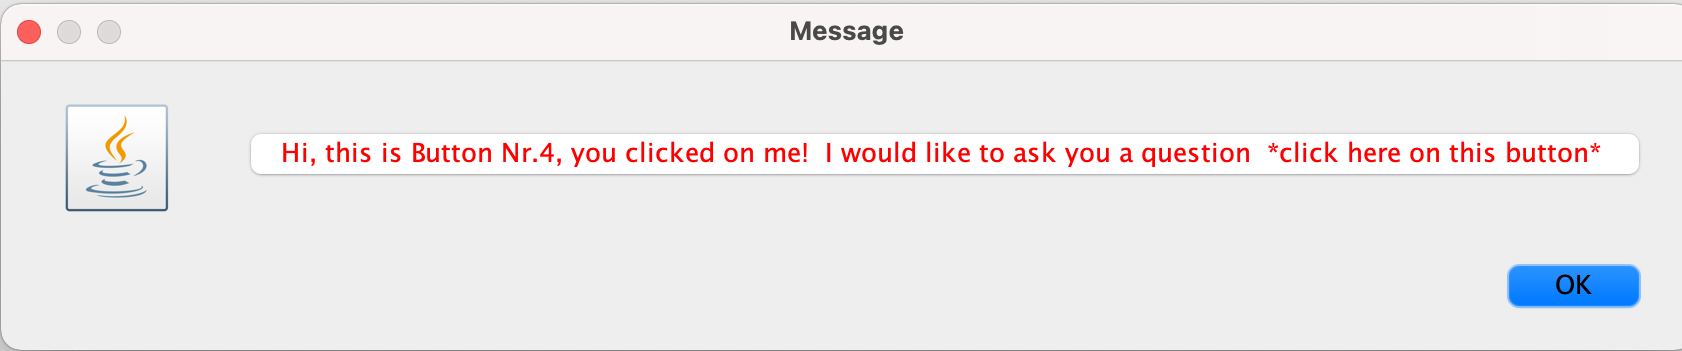
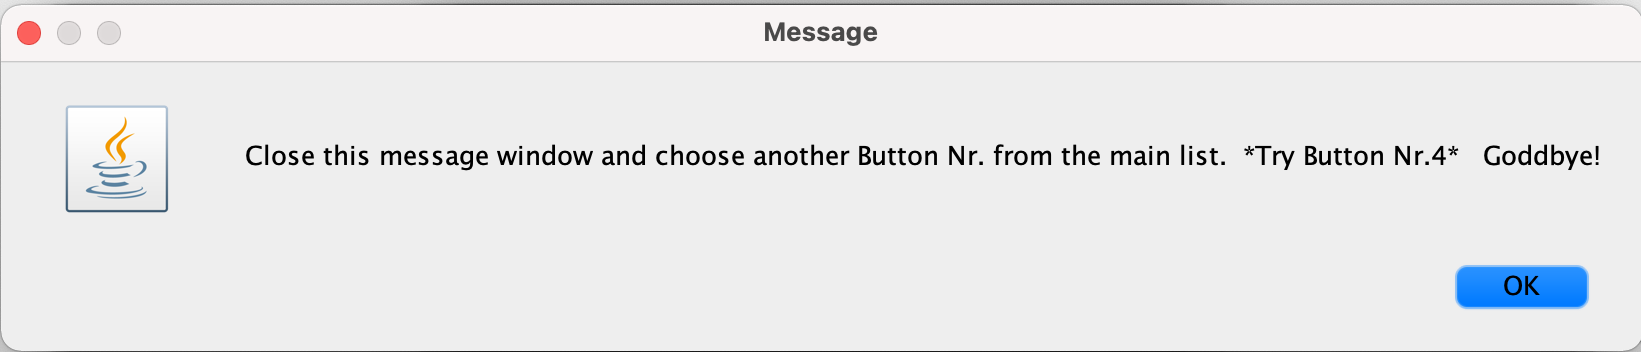
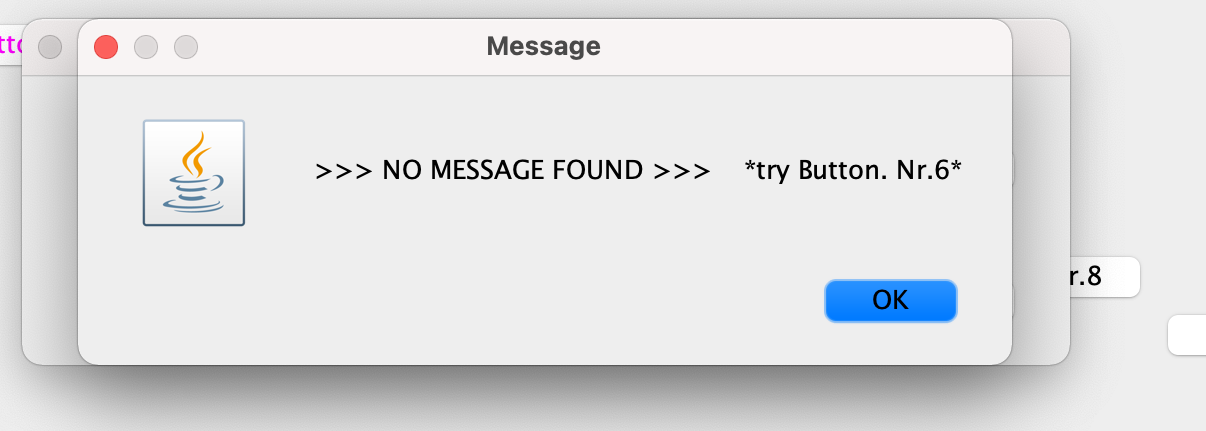
In the above image we have created few errors that we want our display box to show to the user, but some of these errors won't close even when you click OK/p>
Click here to view the first 3 images
Click here to view the next 3 images
Click here to view the last 3 images
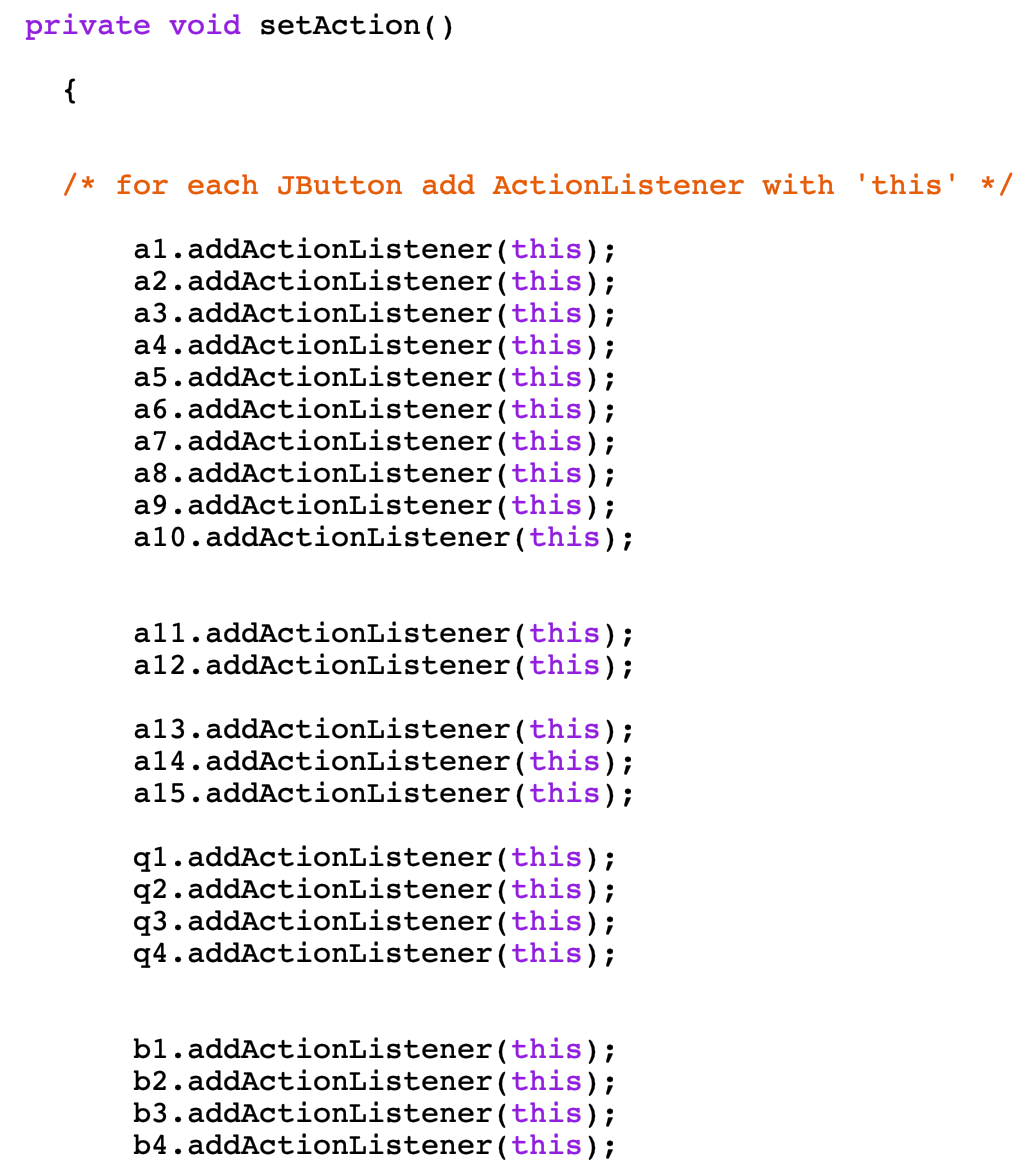
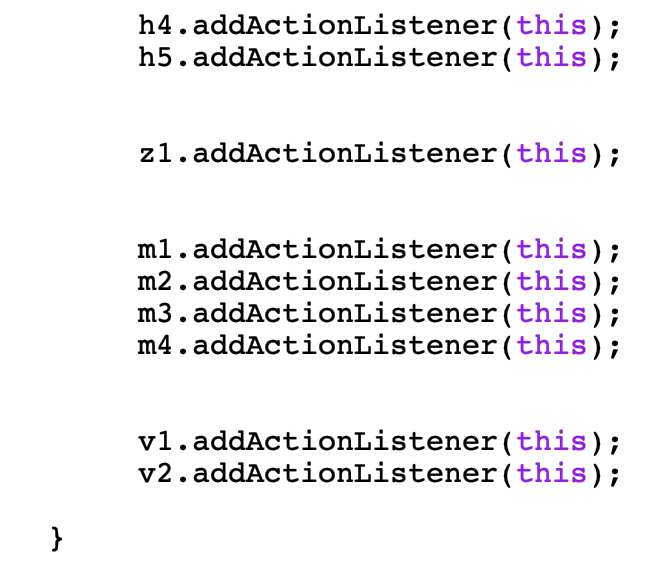
tHIS IS HOW LOOPING IS HELPFUL WHEN using it to manage buttons within other buttons./p>
Click here to view the last 3 images
the purpose is to call upon our function and method which is Actions();
With this statement and request for action we will run the whole application with an opening to our grid and layout. Where we'll see all of our buttons listed.


Click here to view images in Group 1.
Click here to view images in Group 2.
Click here for images in Group 3.
Go here to find images in Group 4.
Visit here for images in Group 5.
Visit this link to view Group 7.
Check this link for Group 10 images.
Visit here for more images in Group 12.
If you would like to see the code on GitHub: Click here
Click here to Go BACK to the Home page